I find very inspiring this guest post of Alfredo Cabrera on
Fashionistasdaily. So I decided to share it with you!
We’re very lucky today to have the famed Fashion Illustrator
Alfredo Cabrera as our contributing editor to show us how to sketch up a
beautiful fashion illustrations! He is a seasoned fashion designer
whom had designed for Geoffrey Beene, Polo Ralph Lauren, Victor Alfaro
also had lend his talented fashion illustration skills to ad campaigns
& window displays to Henri Bendel, Missoni, Gianfranco Ferre, Tommy
Hilfiger, Hollister and many more famous fashion houses. Today, he gave
us a step by step tutorial how to draw a beautiful fashion
illustration! so now get your pencils and color markers ready!
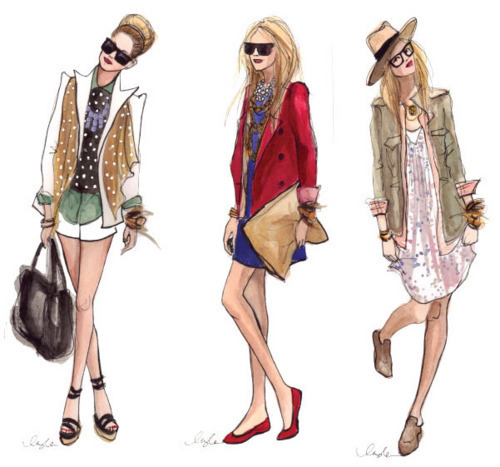
“A good friend suggested that a “How To” post on drawing M
& B would be of interest. The task: Babes sporting one of Marni’s
sweet little cocoon suits for fall. I’ll try to go step-by-step.
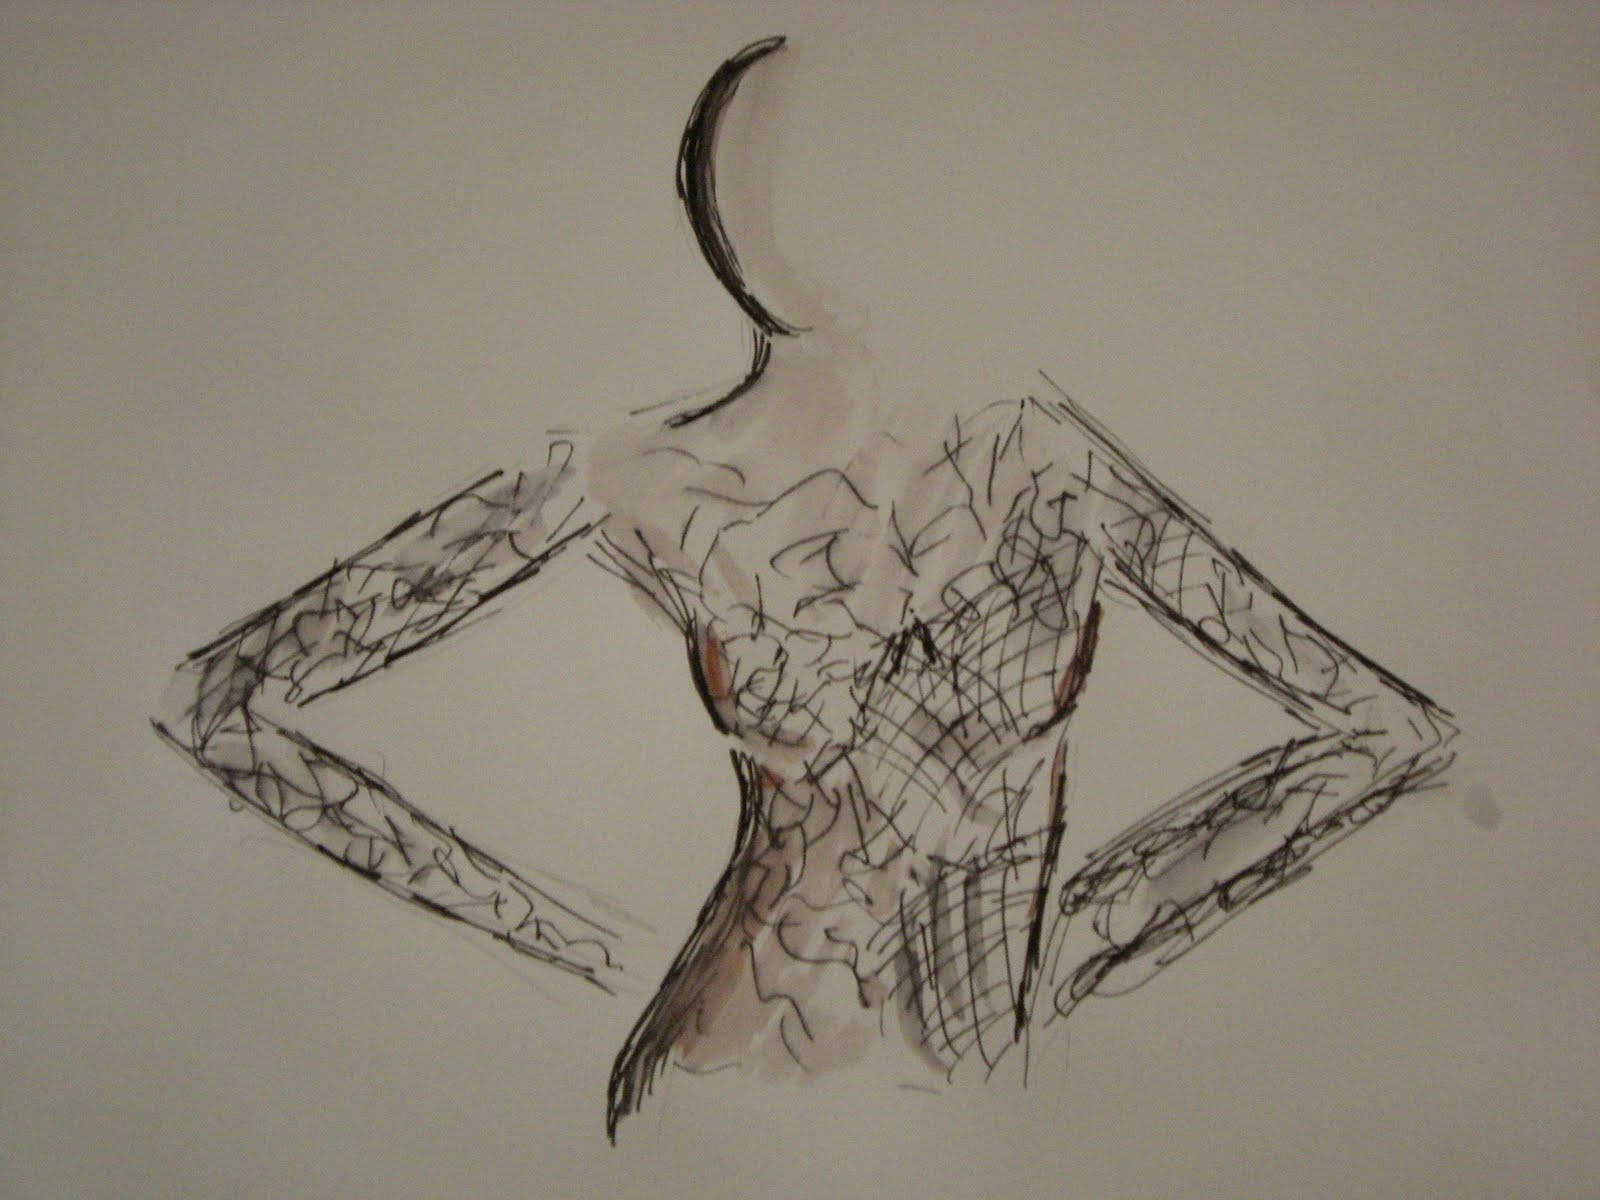
Step 1: Consider the silhouette and what
pose will show it best. In this case, hands in the pockets will
emphasize the cocoon shape and knees together will keep the slim skirt
slim. Map out the gesture. Be sure she’s standing firmly on the plumb
line.
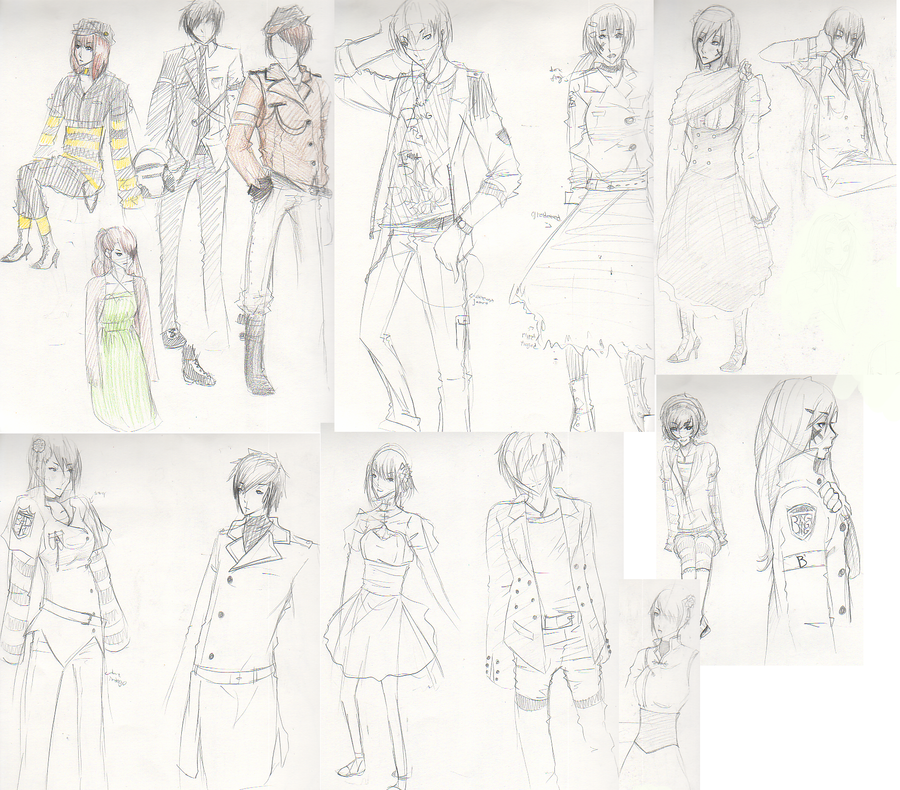
Step 2: You aren’t technically “drawing” yet,
so you don’t want to use contour and fashion sketches should be
editorial, so SIMPLIFY; block out the masses of the figure with
geometric shapes.
(Tip: Once you have a well proportioned figure who’s standing
you can create dozens more by simply changing the placement of the arms
and leg that isn’t carrying weight. Flip these figures on a Xerox
machine and you double the number.)
Step 3: Dress the figure. After you’ve drawn a
zillion of these you can skip step 2 and just start blocking clothing
shapes on the skeleton. Be mindful of proportion: Where does the jacket
hem hit? How many skirt lengths fit into a jacket length? Don’t be
afraid to exaggerate a little to get at the “essence” of the look.
Step 4: Using your penciled shapes as a guide,
block out the skin, hair and clothing shapes in color. Don’t just “fill
in” what you’ve sketched but try to build the masses with color. It’s
ok to go outside the lines or not fill them in to the edge.
Step 5: Build shadows and start adding texture
in color. Don’t draw in ribs or cables or other texture in pencil, but
in color- it’s closer to visual truth.
Step 6: Render the tweed. This beautiful Marni
suit is in a great saffron and black, nubby tweed. We’ve already laid
down the yellow base color and shadows, now we’ll go in with the side of
a black Prisma pencil. My trick is to use a textured surface (shown
peeking from beneath the sketch) to get the slubby look.
Step 7: This is the point to create darker
shadows, punch up texture and add prints or patterns- BEFORE going in
with a highlights and holding line. I used a white gel pen for the
pattern on the sweater and a darker brown marker to add dimension to the
sunglasses and block out the shoes.
Step 8: Believe it or not, this is where
the actual drawing comes in. Some artists like a soft look and may use a
soft pencil for a sensitive thick & thin contour line. I like a
more graphic look and uses ball point and felt tip pens to get variety
of line. Don’t outline everything; you may even want to leave some areas
undrawn. (Baby’s hair never has more than a few curls drawn in.)
Finally, add highlights with a white Prisma pencil and a
white-out pen, which you can also use to clean up bleeding edges and
mistakes. Voila! You now know more about Babes than you have any right
to.